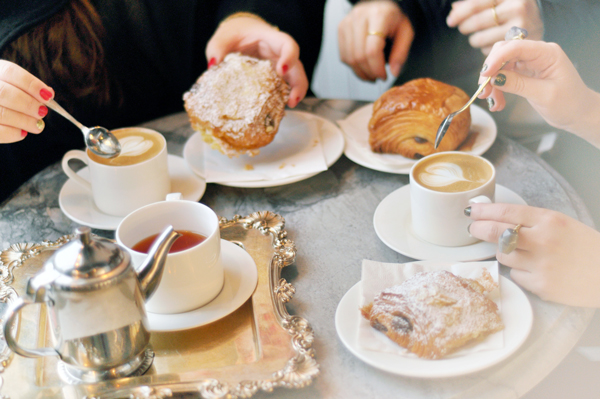
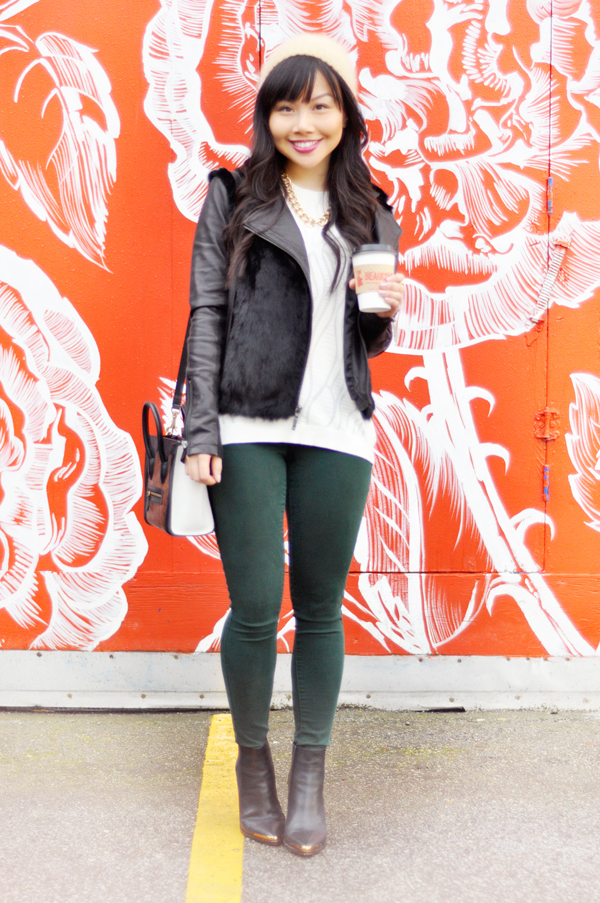
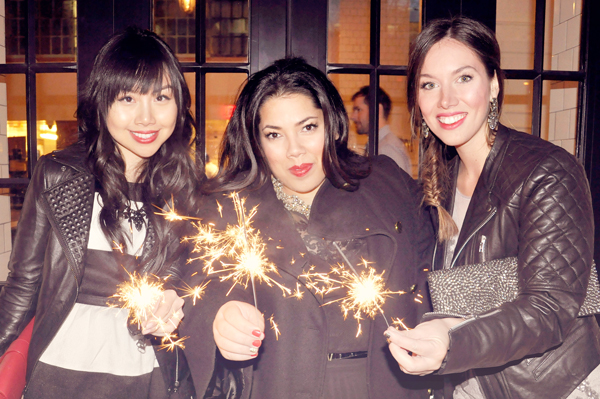
Just in time for the holiday season, I’m excited to be sharing the Glitter Guide feature I recently took part in with my lovely friends Alex and Erin! A few weeks ago, we set out for a day of adventuring around the city, stopping by all of our favourite spots that we frequent. The day couldn’t have been more true to how we actually like to spend our weekends, which made it all the more special. See the full post here!

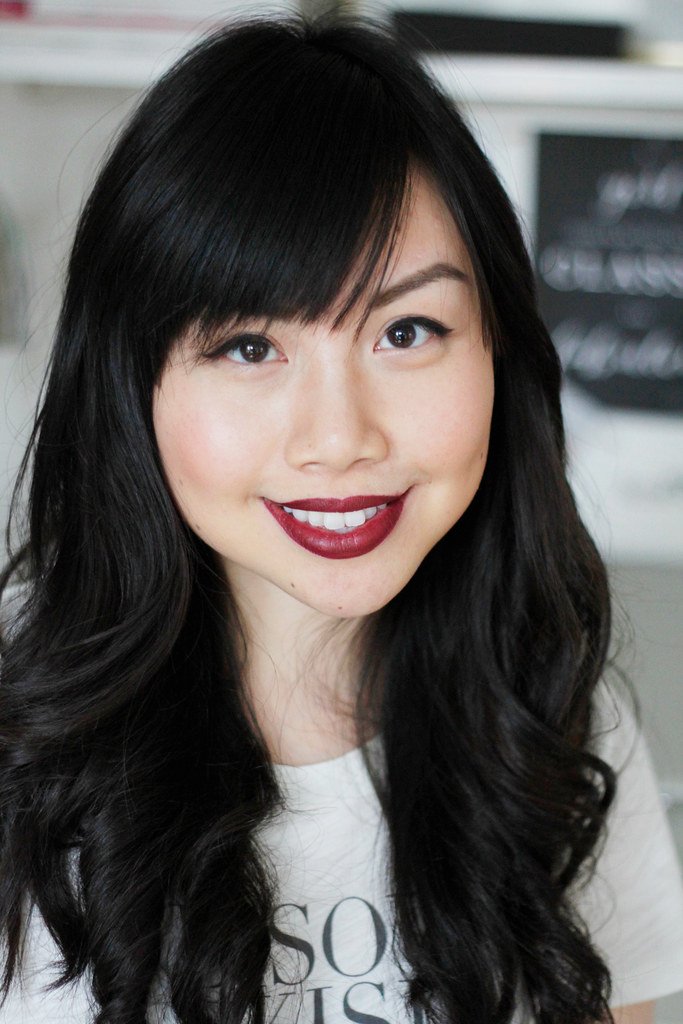
The vampy lip trend has been everywhere this fall/winter. And while I’ve loved it on others, it’s always been a little intimidating for me personally (it’s so dark, so bold!). Since this month is the perfect time to take a beauty risk and have some fun with make up, I called on my blogger girlfriend and MUA extraordinare, Erin, to put together a tutorial for this fun holiday ready face! If you want to try your hand at this surprisingly easy look (and find out some of Erin’s amazing pro-tips for general make up application), read on!
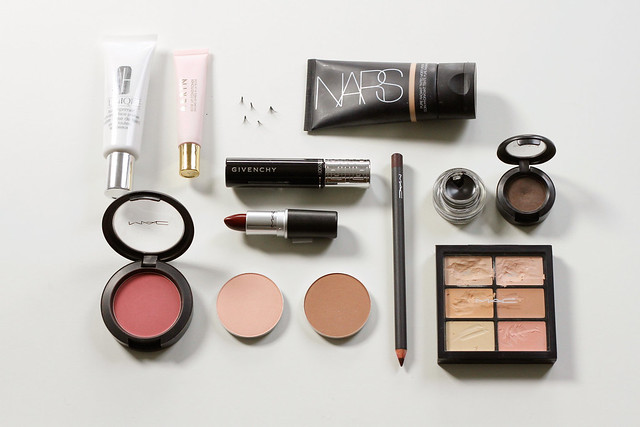
1. Primer, foundation and concealer – a close to flawless complexion is key for this look as a darker lip brings out redness in the skin. Prime, use a foundation if required, and hit any spots with a veil of concealer, blending as needed.
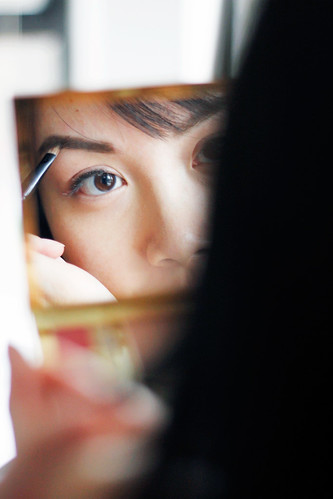

2. Define your brows – this is a dramatic look, and bold brows compliment the bold lip. We’re going for a very architectural look, so don’t be shy. We used powder for this to create a softer, more natural brow.
3. Define your eyes – I like a dramatic cat eye for this look, and a few layers of mascara. Add false single lashes for extra intensity (the strip lashes can look a bit showy for this refined look!).
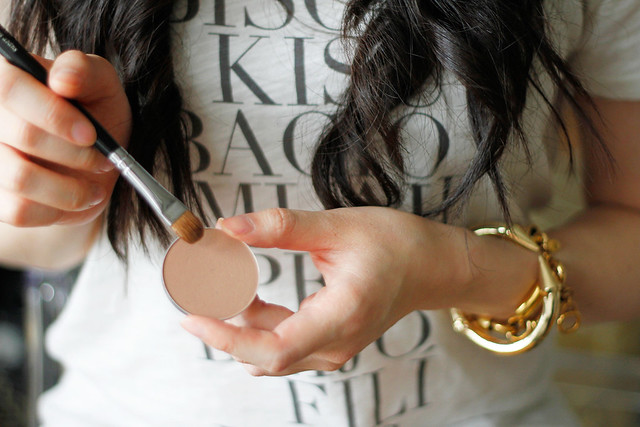
4. Add some depth - Since this look works best with great bone structure, create the illusion of a more defined jawline and cheekbones by chiseling out those areas and the bridge of the nose with a darker powder.

5. Highlight – add light to the high points of the face with a lighter powder and a smaller eyeshadow brush. This is magic! To master this technique, check out this post Erin wrote about the entire process complete with a diagram!
6. Blend, blend, blend – if the powders look too dark, simply blend them out until no sharp lines are visible, and use a skin-toned powder to set and blend the entire complexion. This will intensify your flawless complexion to the max!
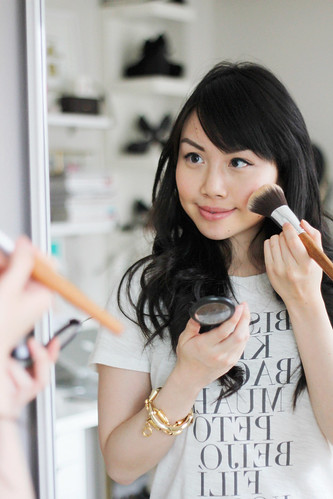
7. Blush – blush adds life to the face, but for this look, we only need a dab on the apples of the cheeks. When choosing your blush shade, always choose one with the same undertone as the lipstick you are wearing. This lipstick is a blue base, so the blush should be a blue base as well – think rose, and avoid peach.
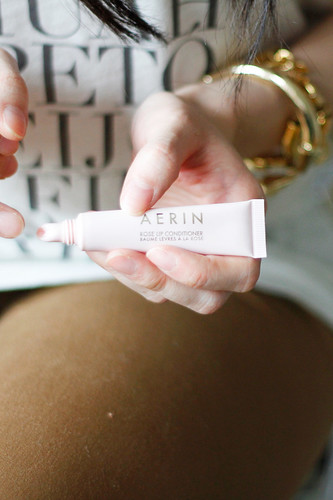
8. Prep your lips – lips MUST be exfoliated prior to applying the lipstick – darker colors show texture and dryness like nothing else! Moisturize with lip conditioner (letting the moisture soak in as you do your makeup), removing the moisture with a tissue prior to your lip color application. Dab a thin veil of concealer on the lips to neutralize the natural lip color – this also gives the color something to adhere to, keeping it on for longer.

9. Line and fill – using a color as close to the lipstick shade as possible, line the lips (we want a crisp, sharp lip line!), and fill them in with the lipliner. The waxy texture will give the lipstick major staying power!
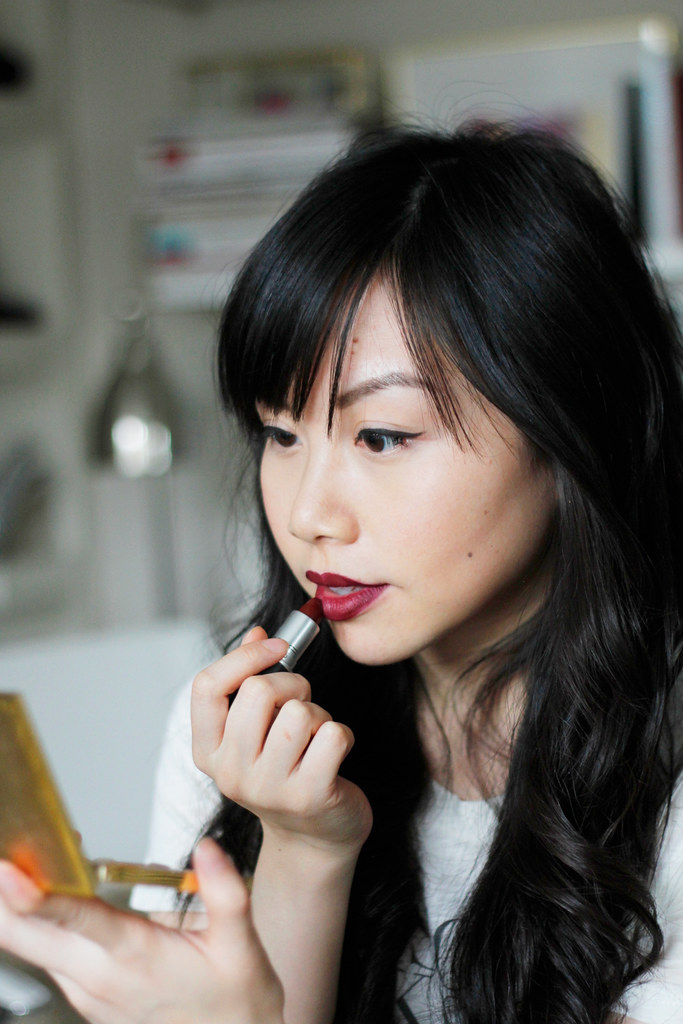
10. The Lipstick – apply two thin coats of lipstick, blotting after the first coat to create layers for depth. Pucker up, throw on your chicest party dress, and enjoy!
Products used:
Primer | Foundation | Concealer | Brow Powder (brun) | Liner | Mascara | Lashes | Highlight (accentuate) | Contour (sculpt) | Lip Conditioner | Blush (desert rose) | Lip Liner (currant) | Lipstick (sin)
Wearing: J.Crew t-shirt
photos and make up by Erin Gerlach


